When water enters a phone, immediate action is critical. First, remove the device from liquid and power it off. Extract SIM cards, case, and accessories. Gently dry external surfaces with a lint-free cloth. Place the phone in an airtight container with silica gel packets for 48-72 hours, avoiding rice due to dust particles. Inspect for corrosion, cleaning with isopropyl alcohol if necessary. Test functionality systematically before resuming use. The following steps provide thorough recovery techniques for maximum restoration potential.
Key Takeaways
- Power off the device immediately and remove accessories, SIM cards, and memory cards to prevent short circuits.
- Gently dry external surfaces with a soft, lint-free microfiber cloth, focusing on ports, speakers, and buttons.
- Place the phone in an airtight container with silica gel packets for 48-72 hours, positioning ports downward.
- Avoid using rice, hair dryers, or other heat sources as they can cause additional damage.
- Check for corrosion after drying and consider professional help if water damage symptoms persist.
Act Fast: Remove Your Phone From Water Immediately
When a phone encounters water, immediate extraction becomes the critical first step in preventing permanent damage. Every second counts in this urgent extraction process, as delays greatly increase the risk of internal component corrosion. Users should prioritize speed above all else, holding the device vertically with ports facing downward to allow gravity to assist in draining liquid. Quick action prevents water from penetrating deeper into sensitive components. Additionally, utilizing a waterproof or water-resistant IP67 or IPX7 rating can significantly reduce the chances of water damage in such situations.
Power Down and Remove External Components
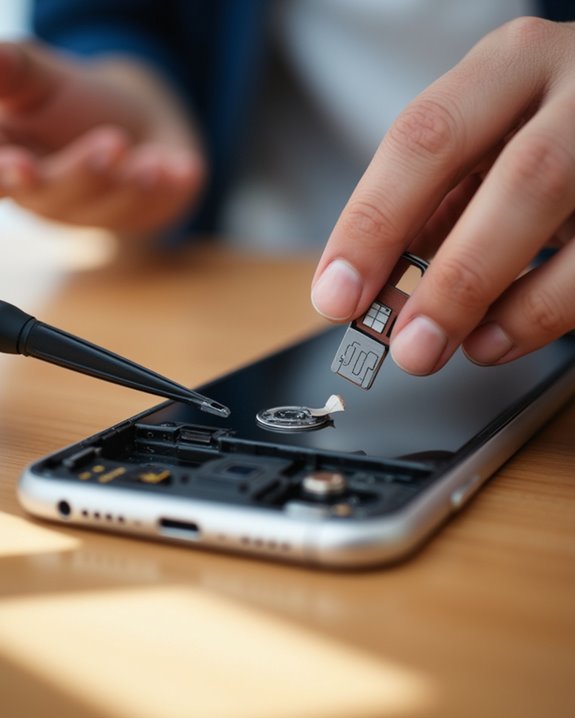
Shutting down the device immediately constitutes the essential second phase of water damage mitigation. Following the proper Shutdown Procedure prevents short circuits and electrical damage that could permanently compromise internal components. Users should avoid attempting to power on the device, even if it appears functional, as electrical current flowing through wet circuits accelerates corrosion. Additionally, employing waterproof protection ratings like IP67 or IPX7 can help assess the device’s resistance to water exposure and guide recovery efforts. The next critical step involves thorough Accessory Handling, removing all external components that might trap moisture. Users should:
- Extract the SIM card and memory cards to protect valuable data
- Remove protective cases, pop-sockets, and decorative charms
- Disconnect the battery if the device design permits
- Position the phone port-side down to facilitate drainage
This thorough disassembly maximizes airflow to internal components, greatly improving drying effectiveness and reducing the likelihood of permanent damage to the device’s circuitry.
Gently Wipe Away Surface Moisture
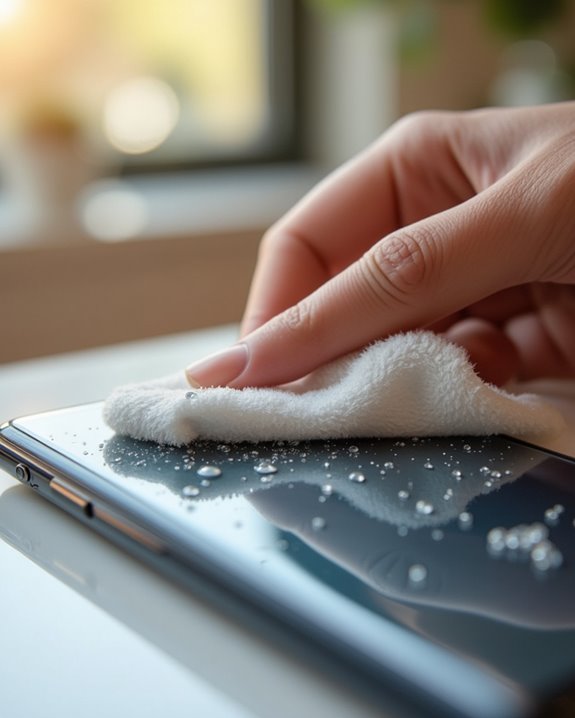
With the phone safely powered down and external components removed, immediate moisture removal becomes the top priority for preventing internal damage. Proper fabric selection is essential; users should opt for a soft, lint-free microfiber cloth that effectively absorbs moisture without scratching the device’s surface. The cloth should be completely dry to avoid introducing additional liquid to the affected device. When wiping the device, apply gentle pressure to remove visible water droplets, particularly around vulnerable areas such as ports, speakers, and button openings. Excessive force may inadvertently push water deeper into these critical openings, potentially causing greater damage to internal components. Users should minimize phone movement during this process, as unnecessary agitation could spread moisture to previously unaffected areas. This methodical approach provides ideal surface moisture removal while preserving device integrity. Additionally, for more effective moisture extraction, using all-weather protection cases can help prevent water ingress and reduce internal exposure in future incidents.
Extract Internal Moisture With Desiccants
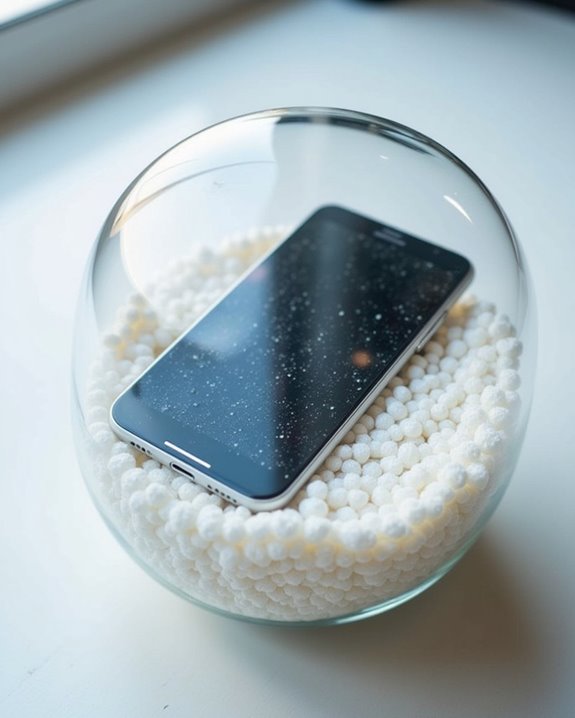
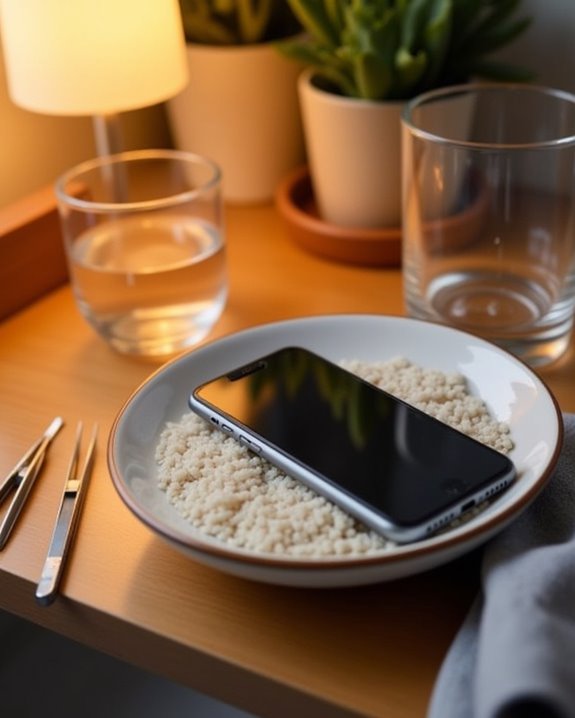
After addressing surface moisture, extracting trapped internal water requires specialized absorbent materials known as desiccants. Silica gel packs and beads represent the ideal Desiccant Choices, greatly outperforming alternatives like rice or couscous in controlled moisture removal tests. Members of the tech community consistently recommend using factory-packaged silica packs for their dust-free operation and superior absorption capabilities.
For effective Bead Maintenance, users should place their powered-down device in an airtight container with the charging port facing downward, allowing gravity to assist drainage. The desiccant medium must completely surround the device for a minimum 72-hour period, ensuring thorough moisture extraction from internal components. Leak-proof pouches are essential when utilizing loose silica beads to prevent particulate infiltration into sensitive phone mechanisms. Post-drying inspection of ports and camera lenses confirms complete moisture removal.
Inspect and Clean Corrosion-Prone Areas
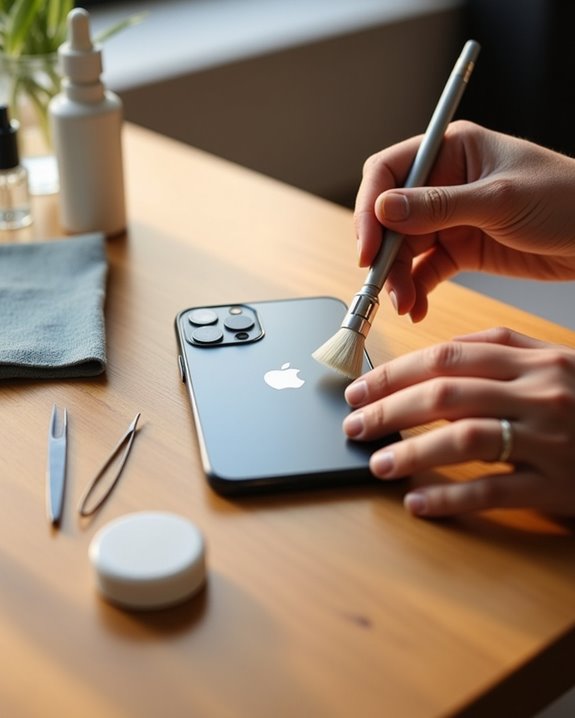
Once a water-damaged phone has been dried, inspecting and cleaning corrosion-prone areas becomes essential to prevent permanent damage. Corrosion typically forms within hours at critical connection points, including battery terminals, charging ports, and internal circuit boards, appearing as green, white, or blue-colored deposits. Effective cleaning requires isopropyl alcohol (91% concentration or higher) applied with cotton swabs to gently remove deposits without scratching delicate components or spreading corrosion to adjacent areas.
Identifying Corrosion Hotspots
Water damage to smartphones often manifests through corrosion in specific vulnerable areas, making identification of these trouble spots essential for successful recovery. The most susceptible locations include charging ports, SIM card slots, memory card compartments, and battery connections where moisture can easily penetrate. Thorough Corrosion Mapping of these areas requires careful examination using a flashlight and magnifying glass to detect greenish-blue deposits or white, powdery residue.
Most modern devices contain Moisture Sensors—small white stickers that turn red or pink when exposed to liquid. These indicators are strategically positioned near vulnerable components, providing definitive evidence of water ingress. Users should inspect these sensors near the battery compartment, SIM tray, and beneath removable covers. Electrical malfunctions, such as intermittent charging or connectivity issues, often signal corrosion development requiring immediate attention.
Battery Contact Treatment
Corrosion management begins with proper identification of battery contact degradation, which manifests as white crystalline deposits containing potassium hydroxide in alkaline battery scenarios. Removal requires first extracting batteries, then carefully scraping loose debris with plastic tools to prevent circuit damage.
For effective neutralization, apply vinegar to alkaline residues or a 3:1 baking soda paste for acidic substances, followed by gentle scrubbing with cotton swabs. The Electrolysis Method offers superior restoration for severely corroded contacts using a 9V-12V power supply in a water-baking soda solution, effectively reversing oxidation through controlled electrical current.
Final restoration should include polishing with a pencil eraser, thorough drying, and proper Grease Application—specifically dielectric grease—to create a protective barrier against future moisture intrusion and oxidation while maintaining electrical conductivity.
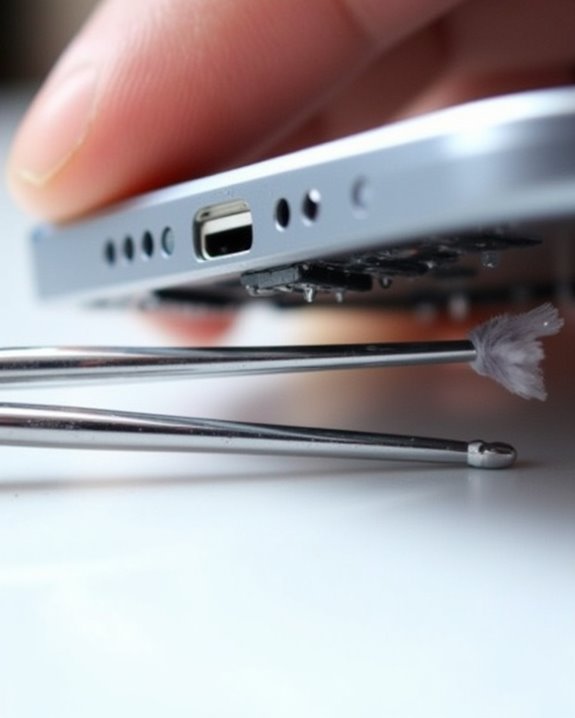
Port Cleaning Techniques
The charging port represents a primary vulnerability for water-damaged devices, requiring systematic inspection and cleaning to prevent long-term corrosion damage. Users should begin with visual inspection under bright light, looking specifically for green or white deposits indicating corrosion development. Temporary switching to wireless charging can minimize further damage while addressing port issues.
For effective cleaning, employ compressed air in short bursts to dislodge loose particles, followed by gentle debris removal using non-abrasive tools like toothpicks or cotton swabs with isopropyl alcohol. For stubborn corrosion, a baking soda paste applied with precision can neutralize oxidation effectively. Preventive maintenance should include regular port inspections and prompt action when moisture exposure occurs. Implementing protective cases with port covers represents an excellent long-term strategy for minimizing future exposure to moisture and dust particles.
Test Functionality Before Regular Use
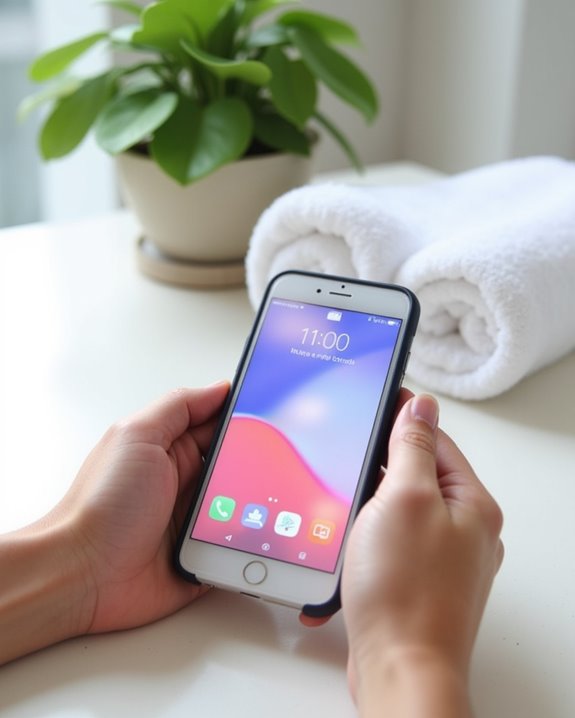
Testing a water-damaged phone’s functionality before returning to regular use serves as a critical safeguard against potential component failure. Device owners should implement a systematic power-on sequence, beginning with the most basic functions like powering on, followed by testing the touchscreen responsiveness, speaker output, and microphone clarity. Essential functions including cellular connectivity, Wi-Fi reception, and Bluetooth pairing should receive priority attention, as these systems commonly experience complications following liquid exposure.
Test Functionality Before Regular Use
Before returning to daily usage, carefully verifying your phone’s operational status guarantees no lingering water damage compromises performance. Begin by methodically reassembling all components, ensuring SIM cards, batteries, and cases are properly secured with undamaged seals. Power on the device while observing startup animations for distortions that might indicate circuit damage.
Conduct thorough interface testing by connecting charging cables, verifying Wireless Charging functionality, and testing all ports for proper data transmission. Users should validate core features by checking touchscreen responsiveness across all regions, capturing test photos with each camera lens, and confirming Data Encryption systems remain intact. Schedule diagnostic tests using manufacturer software to identify hidden issues.
Monitor the device for 24-48 hours, tracking battery performance, heat generation, and documenting any intermittent glitches that may signal underlying moisture damage requiring professional intervention.
Power-On Sequence Checks
Proper power-on sequence checks represent a critical final stage in the water damage recovery process, ensuring electrical components function correctly before resuming daily use. Technicians recommend a methodical approach to BootDiagnostics, beginning with thorough device inspection for visible moisture behind screens or port areas.
Before activation, users should verify all Liquid Damage Indicators (LDIs) remain white rather than red or pink, indicating moisture exposure. When powering on, observe the complete boot cycle for any interruptions or StartupAlerts that might signal hidden water damage. Modern smartphones often display specific moisture detection notifications during this process.
Sequential testing of all functions—speakers, microphone, buttons, and touchscreen—provides thorough assessment of potential short-circuit risks. Implementing this structured power-on protocol greatly reduces the likelihood of permanent damage to internal circuitry and extends device longevity.
Prioritize Essential Functions
Why should users methodically evaluate their water-exposed devices? Following a water incident, systematic testing of key functions establishes a Function Hierarchy that identifies damaged components requiring professional attention versus those that remain operational.
Begin the assessment by verifying the initial power state, immediately powering off any device still running to prevent short circuits. Once the device appears externally dry, focus on Critical Operations: check charging port functionality with a flashlight inspection before attempting connections, validate basic audio capabilities through low-volume tests, and examine display uniformity for water spots. Hardware component verification should include inspecting the SIM tray’s liquid damage indicator, testing button responsiveness, and checking camera lenses for fogging. This methodical approach prevents cascading damage while identifying components that may require specialized repair.
Prevent Future Water Damage
Once a phone has been successfully rescued from water damage, implementing preventive measures becomes essential for long-term device protection. Investing in high-quality waterproof cases with IP67 or higher ratings provides substantial protection against accidental immersion, offering defense up to 1 meter underwater for 30 minutes. These protective barriers effectively seal vulnerable ports while maintaining full functionality.
Humidity control represents another critical aspect of prevention. Regular monitoring of environmental conditions, particularly in bathrooms, kitchens, and outdoor activities, greatly reduces exposure risk. Statistics indicate that 65% of smartphones experience water damage during their lifespan, with summer months presenting heightened risk periods. Users should consistently verify that device seals remain intact, as deterioration can compromise water resistance. Additionally, waterproof pouches with flotation capabilities offer supplemental protection during beach or pool activities, ensuring devices remain accessible yet protected from moisture infiltration.
Frequently Asked Questions
Is Water Damage Immediately Apparent or Can Problems Develop Later?
Is water damage always visible right away? Not necessarily. While some indicators appear immediately, many phones experience delayed symptoms and gradual onset of problems as internal components corrode over time following liquid exposure.
Can a Phone Survive Salt Water Exposure Differently Than Freshwater?
Salt water causes substantially more damage than freshwater due to its higher conductivity and corrosive properties. Devices exposed to salt water experience accelerated corrosion, salt residue buildup, and faster seal degradation compared to freshwater alternatives.
How Does Water Damage Affect Battery Life and Performance?
Like a sponge slowly dissolving, water exposure initiates battery degradation through corrosion and short-circuits. This reduces capacity, causes overheating, and disrupts charging cycles, making performance optimization difficult even after apparent recovery.
Will Phone Warranties Cover Accidental Water Damage?
Standard manufacturer warranties explicitly list water damage among warranty exclusions. Phone owners should consider alternative insurance options that specifically cover liquid damage for protection within their community of device users.
Can Ultrasonic Cleaners Damage Phone Components During Professional Repair?
Like invisible storm waves, ultrasonic cleaners pose real risks to delicate phone components. Prolonged exposure can erode solder joints and dislodge small parts. Cleaner alternatives include manual cleaning with specialized solutions when seeking professional repairs.