Effective speaker repair follows seven essential steps: identifying damage through visual and audio inspection, gathering specialized tools like multimeters and soldering irons, safely disassembling the unit while documenting connections, diagnosing specific issues through impedance testing (5-7Ω for 8Ω speakers), replacing damaged components with compatible parts, reassembling with proper alignment and adhesive curing (12-24 hours), and conducting thorough performance testing across 20Hz-20kHz frequencies. Understanding each step’s technical requirements guarantees best restoration results.
Key Takeaways
- Gather essential repair tools including screwdrivers, multimeter, and soldering iron while implementing proper safety measures like protective eyewear.
- Carefully disassemble the speaker, documenting with photos and labeling all connections for accurate reassembly later.
- Diagnose issues through visual inspection, electrical testing, and audio checks to identify specific problems with components.
- Replace damaged parts like cones, voice coils, or surrounds with compatible components, ensuring proper alignment and secure connections.
- Test the repaired speaker thoroughly across various frequencies and power levels before finalizing the repair.
Understanding the Signs of Speaker Damage
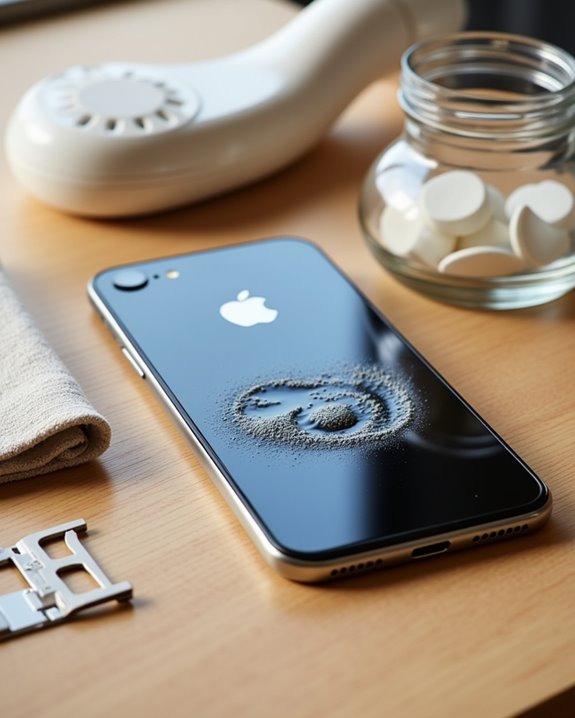
Identifying speaker damage early can prevent catastrophic failure and costly repairs down the line. Through the Historical Evolution of audio technology, experts have identified distinct warning signs that indicate speaker deterioration. Consumer Education has made these indicators more accessible to audio enthusiasts, enabling them to diagnose problems efficiently.
Key indicators include audible distortion, particularly during bass playback, and physical damage to speaker components. When examining speakers, users should check for visible cone tears, suspension damage, and voice coil misalignment. Performance-based symptoms like volume inconsistencies, channel imbalance, and impedance irregularities signal potential issues. Under load, speakers may exhibit distinctive behavioral patterns such as bass distortion, tweeter harshness, or thermal cutoff. Professional diagnostic methods include manual cone testing, battery tests, and multimeter checks to confirm functionality and measure electrical characteristics.
Gathering Essential Tools and Materials

Once a speaker’s damage has been properly diagnosed, assembling the correct set of tools and materials becomes the foundation for successful repair work. Proper tool selection requires gathering basic hand tools like screwdrivers and pliers, along with specialized equipment such as soldering irons and signal generators for technical diagnostics. Additionally, selecting speakers with suitable power ratings, such as 300W for Pyle or 420W for Rockville, ensures optimal performance hardwired Bluetooth speakers and long-term durability. Material sourcing involves obtaining high-quality replacement components, including speaker cones, surrounds, and voice coils, which guarantee best performance after repairs. Essential diagnostic tools like multimeters and oscilloscopes enable precise measurement of electrical parameters and waveform analysis. The workspace must be equipped with proper lighting, ESD protection, and safety equipment, while thorough documentation through manuals and online resources provides vital guidance. Professional repair kits, such as New-Edge-It®, offer convenient solutions for specific repair needs.
Safely Disassembling Your Speaker
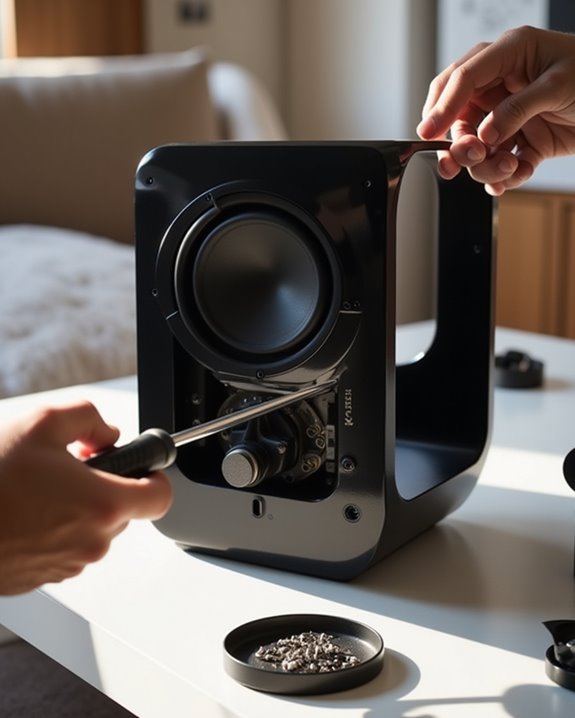
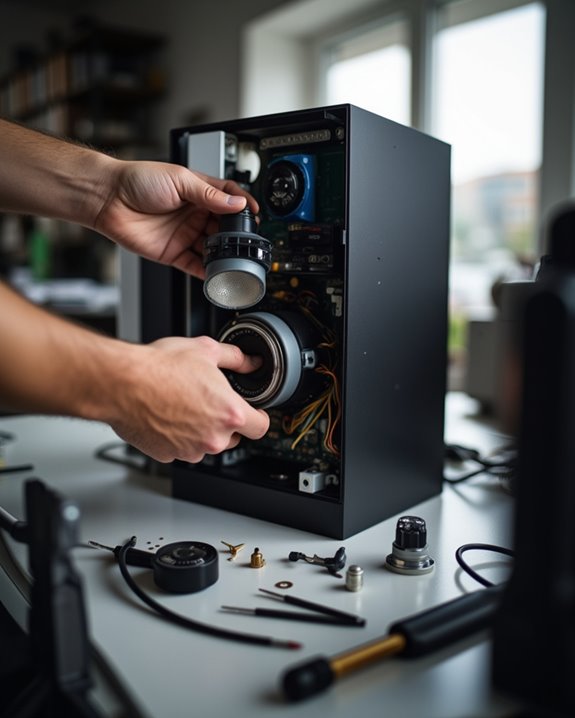
Safe and methodical speaker disassembly begins with proper preparation and a clear understanding of the internal components. After powering down and disconnecting the unit, technicians should document the speaker’s initial state with photographs before proceeding with casing removal.
Using appropriate screwdrivers, the outer housing can be carefully separated by removing all visible fasteners. Static protection measures, such as anti-static wrist straps, are essential when handling sensitive electronic components. Proper magnetic handling techniques must be employed when working with speaker drivers to prevent interference with nearby electronics. Wire harnesses and connectors should be systematically disconnected, with careful attention to labeling each connection. Internal components like crossovers, amplifier modules, and power supplies can then be accessed for inspection, ensuring all dampening materials and filter elements remain intact for reassembly.
Diagnosing the Root Cause
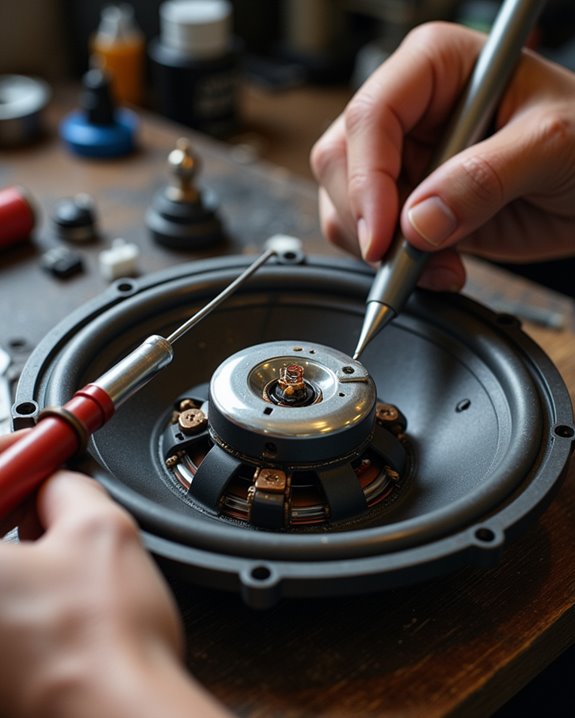
Thorough diagnosis of speaker malfunction requires a systematic approach combining visual inspection, electrical testing, and signal analysis methods. Understanding both Environmental Impacts and User Habits is essential for accurately determining failure points in speaker systems. Additionally, recognizing speaker design features can help technicians understand potential failure modes associated with specific models. Technicians begin with visual assessment, checking for physical damage to cones, surrounds, and connections that may result from improper storage conditions or handling. Electrical testing follows, using multimeter measurements to verify impedance values typically ranging from 5-7Ω for 8Ω speakers. The battery pulse test confirms driver functionality, while capacitor testing examines crossover components for values within ±5% tolerance. Signal tracing completes the diagnostic process, isolating issues through direct driver connection and controlled audio testing. This methodical approach guarantees precise identification of malfunctions, whether caused by environmental factors or usage patterns.
Replacing or Repairing Damaged Components
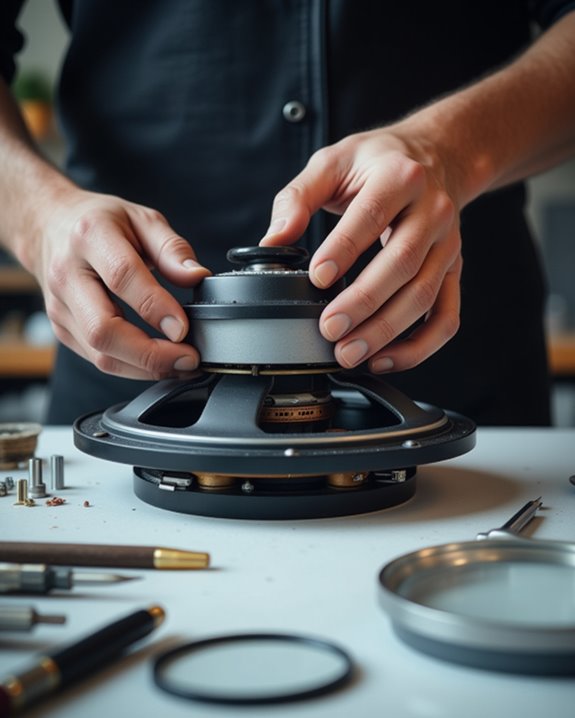
Replacing damaged speaker components demands meticulous attention to both compatibility and installation technique. Technicians must first conduct a thorough cost evaluation, weighing repair costs against replacement options while checking warranty considerations before proceeding. The process requires careful disconnection of existing components, including wiring and mounting hardware, followed by precise installation of compatible replacements.
During component replacement, proper securing of new parts and precise wire routing are essential for ideal performance. Technicians should verify resistance values match specifications and guarantee all connections are properly soldered and insulated. After installation, thorough testing under various audio loads confirms proper functionality. This systematic approach, combined with attention to environmental factors and quality assessment, guarantees that speaker repairs meet professional standards while maximizing the longevity of the audio system.
Proper Reassembly Techniques
The initial step in speaker reassembly requires securing all wire connections with proper polarity markings and strain relief before proceeding with further component installation. Through systematic continuity testing of these secured connections, technicians can identify potential issues before investing time in complete reassembly, saving valuable diagnostic hours. After verifying proper electrical connections, the reassembly process can continue with confidence that the fundamental signal path is intact and functioning according to specifications.
Secure Wire Connections First
Proper wire connection security forms the foundation of any successful speaker repair, requiring meticulous attention to both electrical and mechanical aspects. Technicians must implement robust weatherproofing tips and vibration resistance measures to guarantee lasting performance.
The process begins with powering down the system completely and verifying zero residual current. Gold-plated banana plugs and properly sized spade connectors provide ideal conductivity, while adhesive-lined heat shrink tubing offers essential strain relief. Technicians should tighten terminal screws to specification and verify connections with precise resistance measurements between 0.00-0.05Ω.
For maximum reliability, proper strain relief techniques include figure-8 wire loops, strategic zip-tie placement, and maintaining minimum bend radiuses. After 24 hours, connections should be re-checked and tightened to compensate for natural material settling.
Test Before Final Assembly
Successful wire connections lay the groundwork for thorough pre-assembly testing, which safeguards against premature component failure and guarantees ideal speaker performance. The process begins with proper drying enforcement, requiring a minimum overnight curing period for adhesives to achieve best bonding strength.
Technicians must conduct thorough physical clearance checks, applying multi-angle pressure to detect any voice coil misalignment or obstruction. Adhesive validation involves maintaining controlled temperatures between 20-25°C during curing while preventing vibration exposure. Essential tests include perpendicular positioning verification, spider symmetry confirmation, and gap clearance inspection using focused illumination. Following manufacturer-specified drying times of 12-24 hours guarantees complete adhesive curing, establishing a foundation for reliable speaker operation. Final validation includes impedance measurements and test tone evaluation to confirm specifications match original performance parameters.
Testing and Fine-Tuning Performance
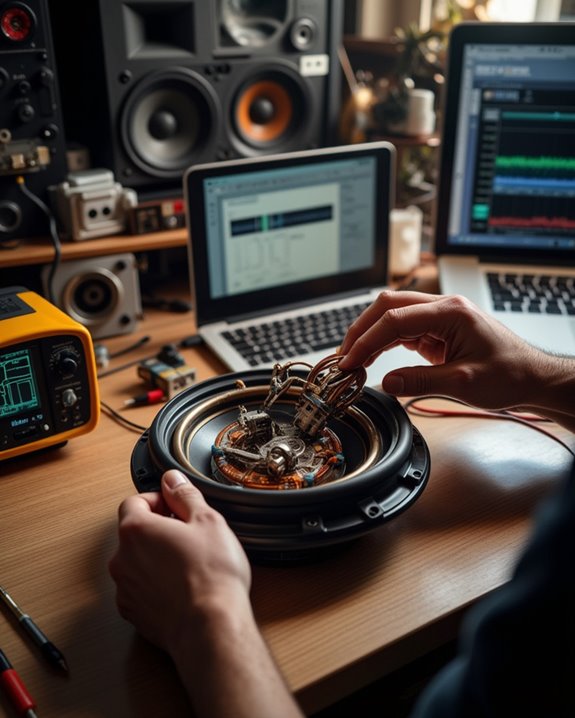
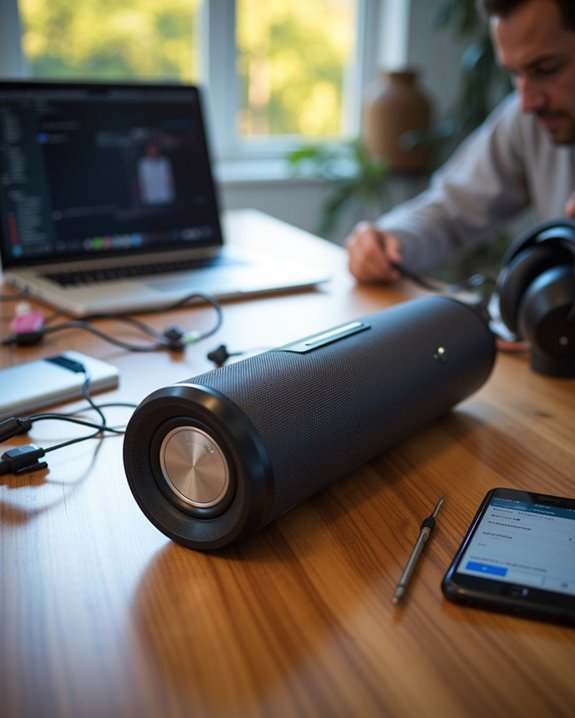
Testing a repaired speaker requires systematic evaluation of key performance metrics through established audio engineering protocols. Proper testing includes measuring impedance across frequencies using calibrated equipment, validating frequency response from 20Hz to 20kHz, and conducting sequential volume checks at multiple input levels to assess sound quality and distortion. Basic performance verification encompasses testing audio quality through standardized test tones, measuring impedance with a multimeter to verify proper electrical characteristics, and evaluating volume response using calibrated SPL meters at various power inputs from 1-100 watts. Additionally, assessing speaker durability under different conditions can ensure consistent long-term performance and stability.
Audio Quality Checks
A thorough audio quality assessment forms the foundation of effective speaker repair and optimization. Professional technicians employ calibrated measurement microphones and specialized software, such as APx 500 Flex Audio Analyzer, to conduct thorough timbre assessment and clarity measurement. The testing process evaluates key parameters including frequency response, harmonic distortion, and directional characteristics.
Testing environments play a vital role in accurate evaluation, with anechoic chambers providing ideal conditions for precise measurements. Technicians utilize multiple testing methods, including free-field testing and near-field measurements, to obtain detailed performance data. The evaluation process incorporates both on-axis and off-axis frequency response measurements, while polar pattern analysis reveals the speaker’s directional sound emission properties. Sound positioning and signal integrity checks guarantee best performance across all audio channels.
Impedance Measurement Process
The impedance measurement process requires precise instrumentation and systematic methodology to evaluate speaker performance characteristics. Following established Resonance Theory principles, technicians begin by configuring test equipment with a voltmeter, signal generator, and amplifier connected through a known-value resistor, typically 1.5kΩ.
Proper Calibration Methods involve setting the signal generator to 1kHz as a baseline frequency, followed by methodical frequency sweeps from 20Hz to 20kHz. During testing, voltage measurements across both the series resistor and speaker terminals enable accurate impedance calculations using Ohm’s law. Technicians track impedance variations to identify resonant frequencies and crossover effects, maintaining precise documentation of frequency responses and electrical characteristics. This systematic approach guarantees reliable performance assessment and aids in diagnosing potential speaker defects.
Volume Response Testing
Proper volume response testing begins with a methodical evaluation of speaker performance across the full audible frequency spectrum, requiring precise measurement tools and controlled testing conditions. A calibrated measurement microphone, positioned at a consistent distance from the speaker, captures sound pressure levels across different frequency bands.
Technicians utilize signal generators to produce test tones that sweep through decibel scales, typically ranging from 20 Hz to 20 kHz. This thorough analysis reveals any irregularities in volume response or potential driver malfunctions. The collected data is then compared against manufacturer specifications to identify deviations. If issues are detected, specialists can implement corrective measures such as crossover adjustments or component replacements. Regular testing and fine-tuning guarantee ideal speaker performance, with particular attention paid to frequency response uniformity and resonance control within the speaker enclosure.
Frequently Asked Questions
How Long Should I Wait for Adhesives to Dry During Speaker Repair?
Time is of the essence when it comes to adhesive curing. Most speaker repairs require 24 hours at room temperature for complete drying, though some drying methods can be accelerated at higher temperatures.
Can I Repair Water-Damaged Speakers, or Should They Be Replaced?
Water exposure severity determines repair feasibility. Minor damage can be addressed through drying techniques and repair alternatives, but significant internal damage typically warrants replacement to maintain ideal sound quality and safety.
What Temperature Conditions Are Ideal for Storing and Operating Speakers?
Speakers perform best at room temperature (20°C) for operation and 10-20°C for storage. Temperature effects can damage components if too extreme. Storage humidity should be maintained at 30-40% to prevent material deterioration.
How Often Should Preventive Maintenance Be Performed on Speaker Systems?
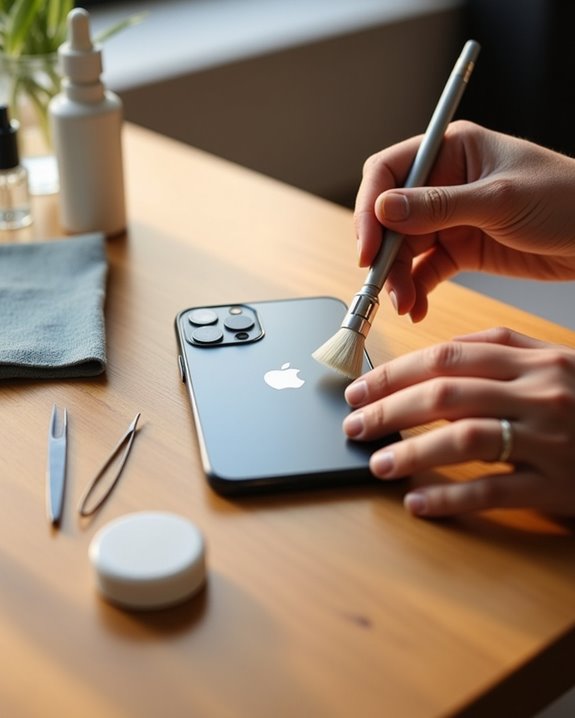
Regular maintenance frequency includes quarterly compressed air cleaning, monthly ventilation checks, and semiannual signal testing. Most inspection intervals follow a 3-6 month cycle, with thorough professional evaluations recommended every 12-18 months.
Are Generic Replacement Parts as Effective as Manufacturer-Specific Components?
Generic replacement parts generally demonstrate lower efficacy and compromised performance metrics compared to OEM components. Experienced audiophiles favor manufacturer-specific parts for reliable repairs and maintaining authentic sound quality in their systems.